
How to Tape Your Fingers – 3 Simple Tips
Posted on February 28, 2017 at 6:19 pm |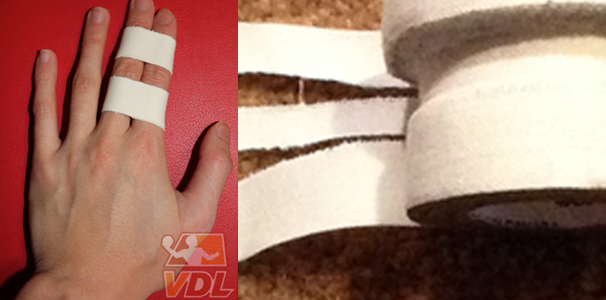
How to Tape Your Fingers – 3 Simple Tips
With playoffs around the corner, I thought it would be a good idea to share some simple self-care tips for your fingers. In the last few weeks, I have witness a couple of serious finger injuries at dodgeball. One player’s finger completely dislocated sideways and another player ruptured a tendon which resulted in a mallet finger. Shout out to both these players for being troopers, this article was inspired by you!
If you’ve been playing dodgeball long enough you know that fingers can commonly get jammed and bent by a ball, or on yourself if you’re a little clumsy. These kind of injuries are usually not that severe, but they can hurt like a bitch. The aim of this article is to give everyone an easy guide on how to properly buddy tape a damaged finger for a temporary fix, especially when you still need to continue playing dodgeball.
A properly done tape job will limit backwards and lateral movement, while still allowing you to bend your fingers forward so you can still throw and catch a ball.
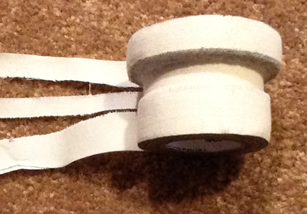
Tip 1: Tear or cut your tape into narrow strips. This is useful for smaller hands and fingers.
Tip 2: Wrap the tape between the creases/folds of your fingers, not on top of them. This will allow you to still bend your fingers.
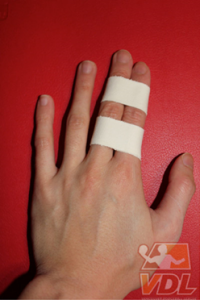
Tip 3: Finish the tape job so the tape ends on the backside of your fingers, not on the palm-side. The tape will stay on longer due to the fact that there’s less contact and rubbing.
Remember to use these buddy taping tips, whether it’s on yourself or on your dodgeball buddy. For other taping techniques, check out this article by VDL veteran and physiotherapist, Carolyn Tam. If you’re concerned you’ve sustained a more serious injury (Ex. Fracture), be sure to get it checked by a healthcare professional.
Good luck at playoffs everyone! Play hard, play safe!


