
Dodge Safe #4 – How to tape your fingers
Posted on May 03, 2013 at 10:49 pm |How to tape your fingers
In this article, a couple of effective tape jobs for each of the finger joints will be described. However, finger taping techniques are not limited to the ones shown here as long as you follow the principles of taping.
Principles of Taping (Anderson et al., 2004):
- Athletic taping should be used to prevent injuries and to help with early return to dodgeball.
- Athletic taping should NEVER take the place of a proper evaluation from a doctor or physiotherapist if an injury persists.
- Tape should be removed immediately after dodgeball. If tape is kept on for too long, it can cause tissue breakdown and bacteria formation.
- If your finger or joint becomes red, dry, hot, and tender, you may be allergic to athletic tape. Remove tape immediately.
Type of Tape
Use athletic tape (sometimes it’s called sports tape). Not medical… or scotch or duct.
Athletic tape can be bought in sports specialty stores such as SportMed. Some drug stores such as London Drugs or Shoppers may carry athletic tape as well depending on their location.
Finger Taping Techniques
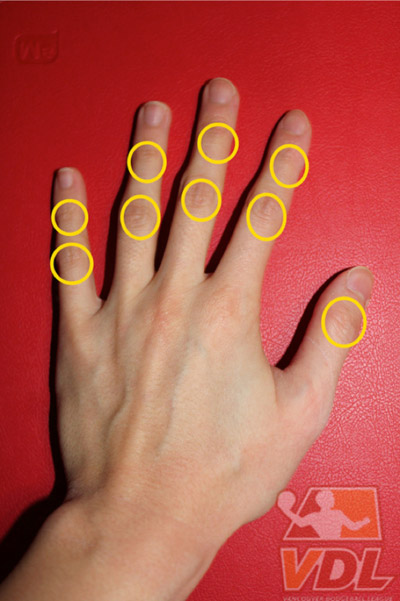
1. For the metacarpophalangeal (MCP) joints aka knuckles:
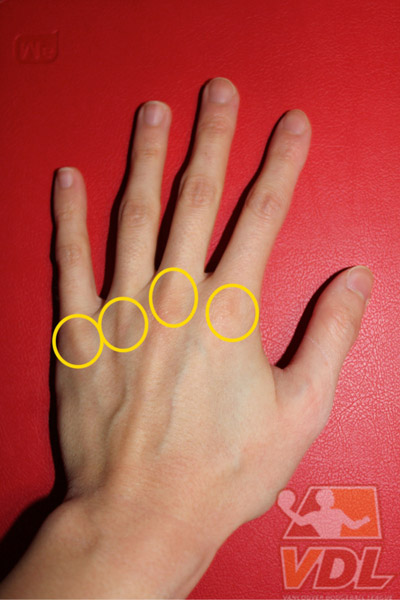
- Use Buddy Taping
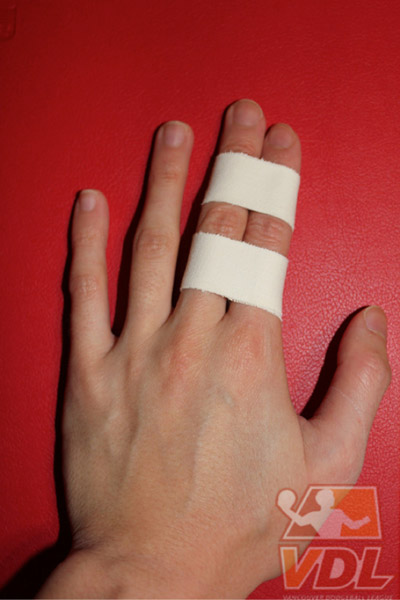 |
| Use the adjacent finger for support. |
2. For the MCP joint of the thumb:
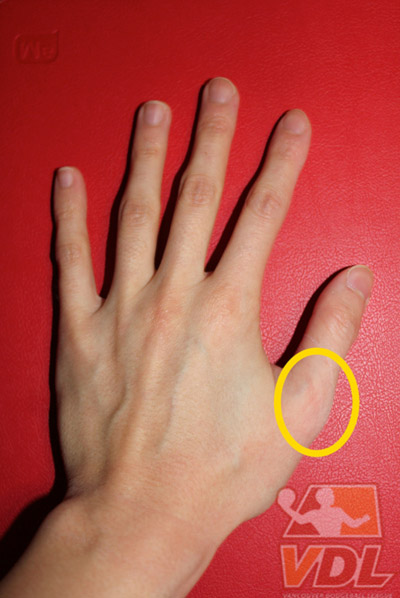
- Use a Thumb Spica
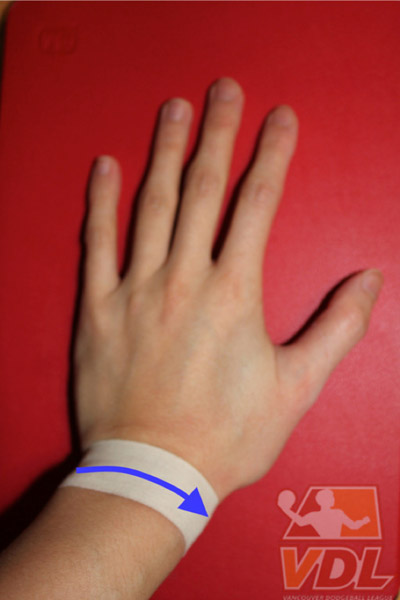 |
| Start with a strip of tape around your wrist. |
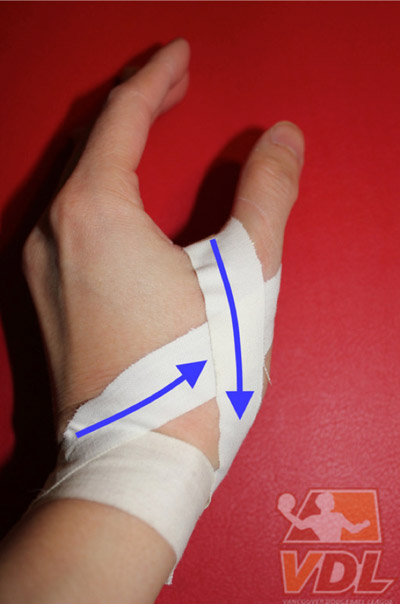 |
| With another piece of tape, loop it around the thumb, making sure that the tape overlaps the injured joint. |
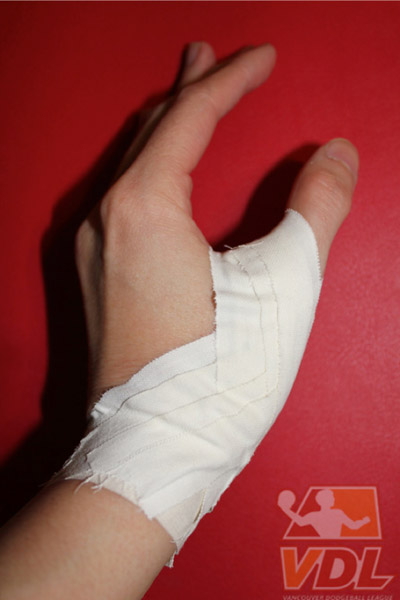 |
| Repeat with 3 to 4 more loops, overlapping half the width of the tape each time. |
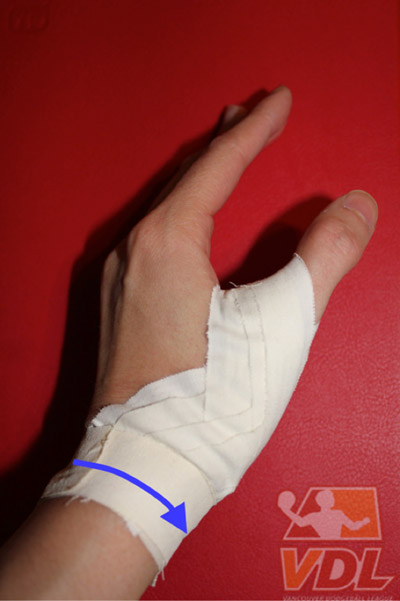 |
| Finish the thumb spica with a loop of tape around the wrist to secure everything. |
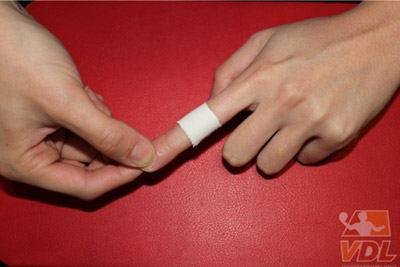
3. For the interphalangeal joints:
- Use a Finger Splint
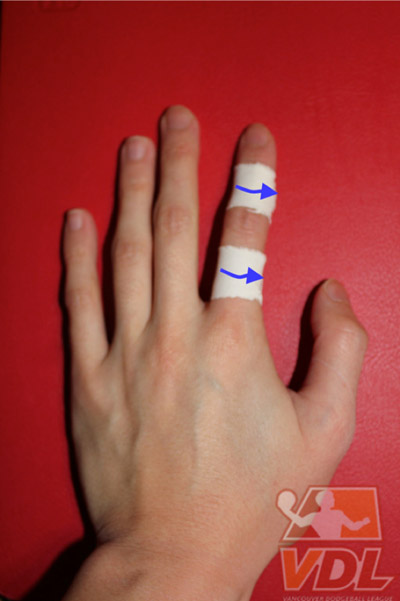 |
| Start with a loop of tape on each side of the injured joint. |
 |
| Make an X with the tape so that it crosses and supports the injured joint. |
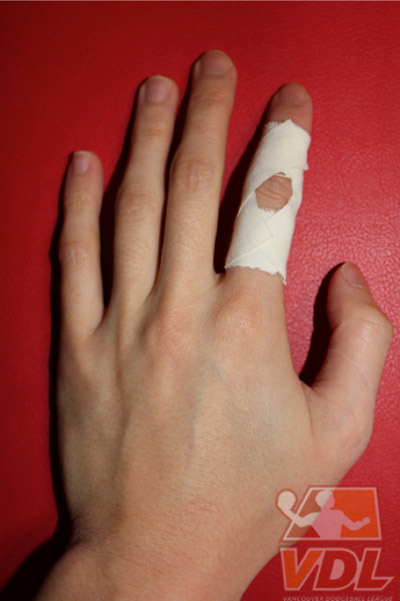 |
| Do the same for the other side of the injured joint. |
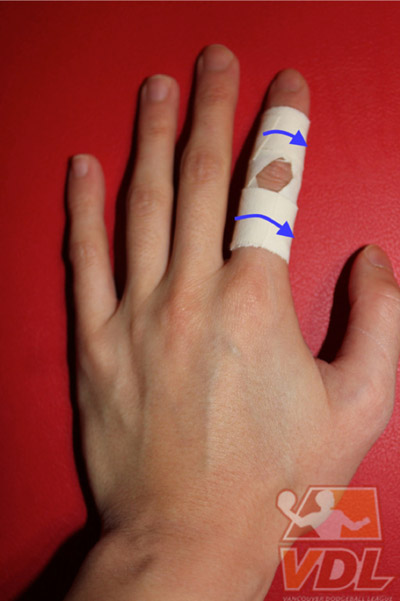 |
| Secure the finger splint with 2 loops of tape. |
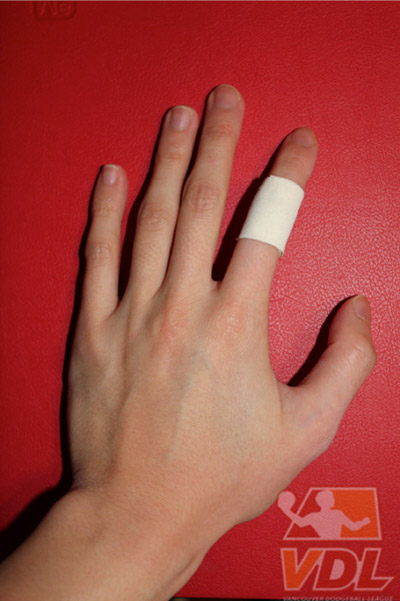
- If the joint is not severely injured, use a simple loop over the injured joint
For all of the taping techniques above, pull the tape snug so that it adheres onto your finger but not so tight that it impairs circulation. Check your capillary refill to make sure that the tape does not stop the flow of blood by pinching your nail bed and seeing if the pink-ish colour returns. If the pink-ish colour does not return in less than 2 seconds, it is too tight and the tape should be removed immediately.
Carolyn Tam is a registered physiotherapist currently working in the Lower Mainland. She completed her Master of Physical Therapy degree at the University of British Columbia after graduating from UBC with a Bachelor of Human Kinetics.
References
Anderson, M.K., Hall, S.J., & Martin, M. (2004). Foundations of Athletic Training: Prevention, Assessment, and Management. Philadelphia, PA: Lippincott Williams & Wilkins.


